How-to: Mark participants as confirmed/attended (for CD/Chair/statutory event organizers)
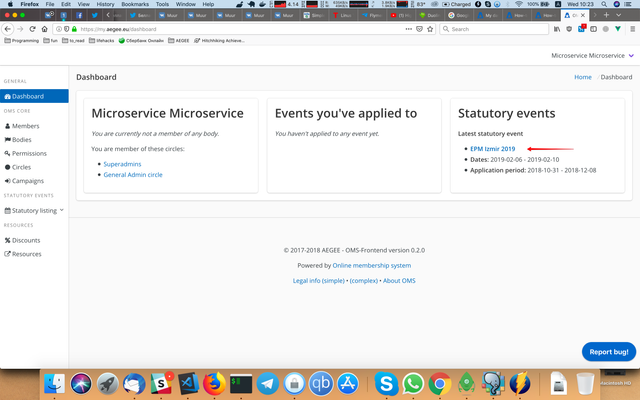
- Go to the event page. You can do it either from the dashboard (it will display the latest published event):
or by going to the statutory listing page (1) and clicking either "Go to the event page" button (2) or the event name (3).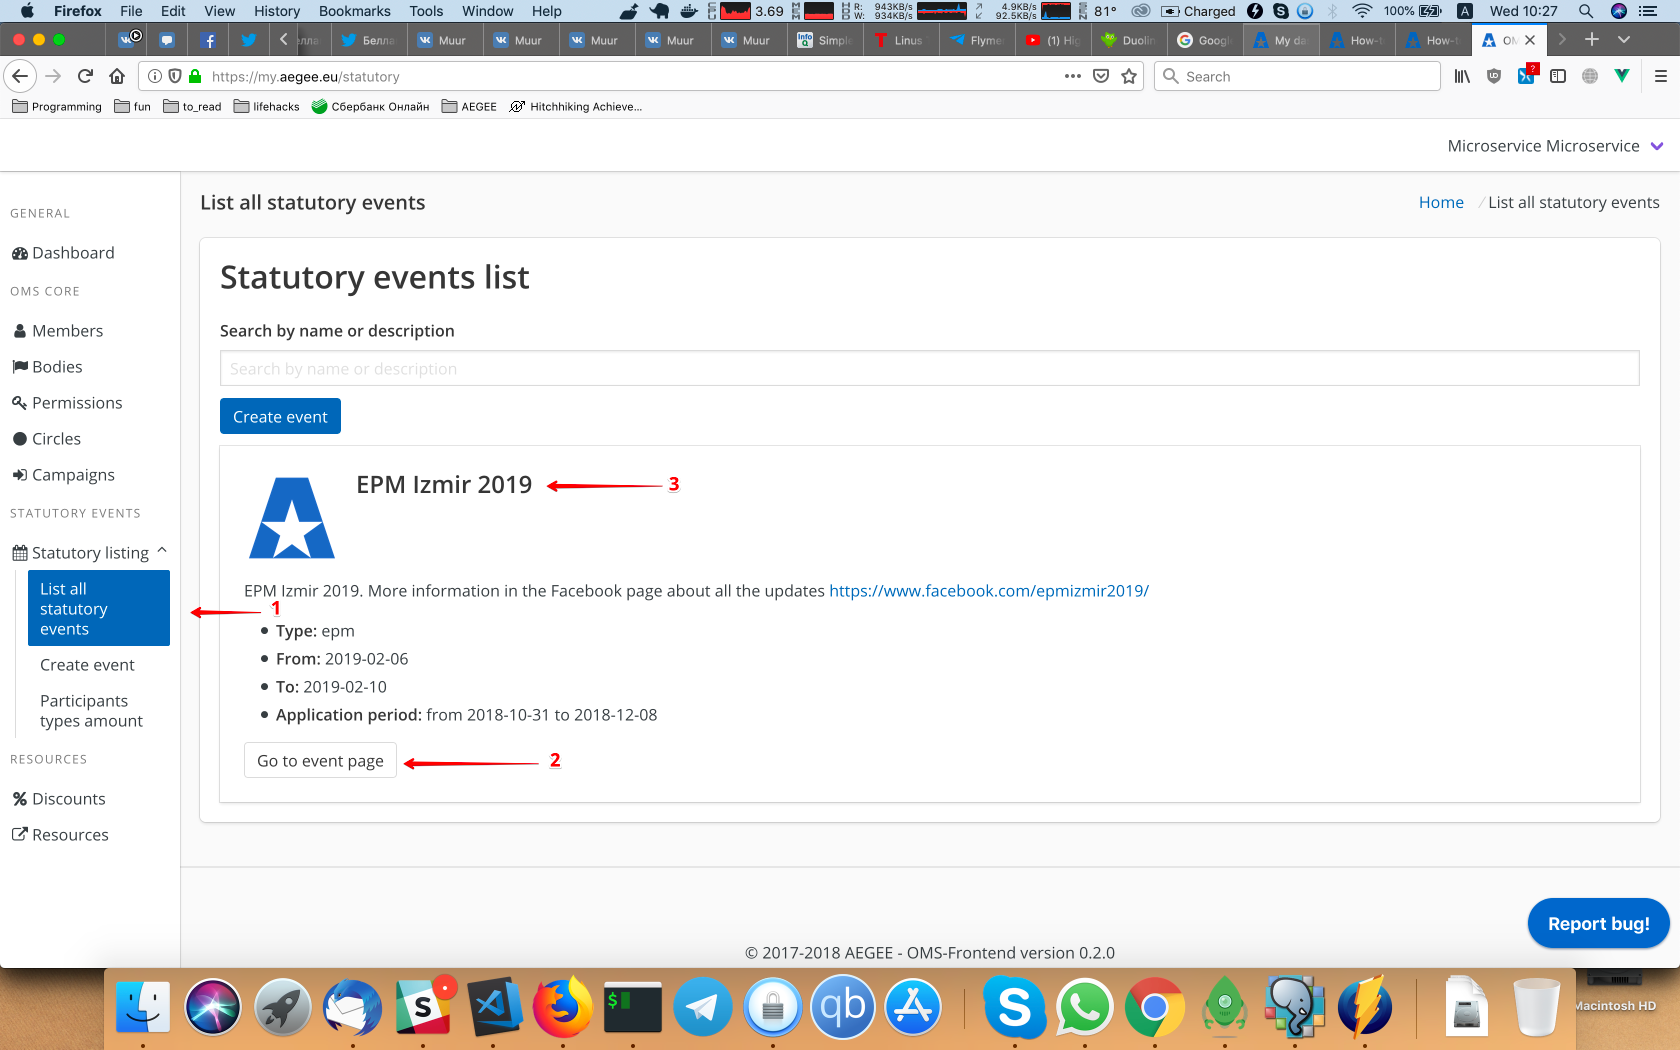
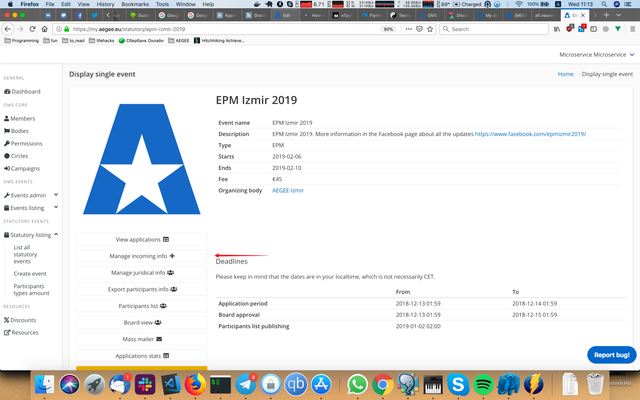
- Press "Manage incoming info". If you don't have it, that means you don't have enough permissions in the system:
- You'll see a table with users who are accepted and not cancelled. If someone's not there, either this person didn't apply, he/she is not accepted or the application is cancelled.

- To mark participant as confirmed/not confirmed (e.g. when he/she has paid fee), press the select in the row for this application in the 'Confirmed?' column and select 'Yes' or 'No':

- To mark participant as attended/not attended (e.g. on the registration desk), press the select in the row for this application in the 'Attended?' column and select 'Yes' or 'No':
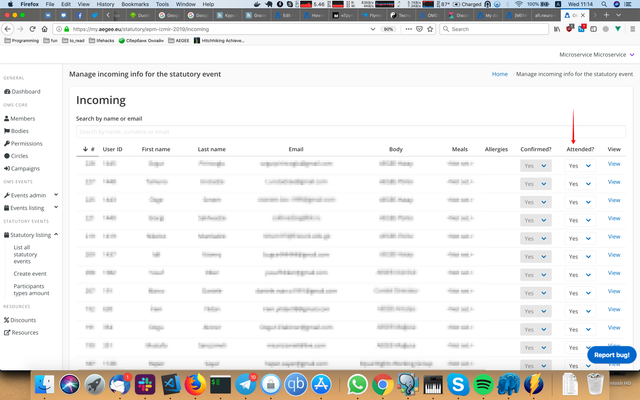
- Keep in mind that you won't be able to mark participant as attended without marking him/her as confirmed, you have to mark this application as confirmed first.
- Also keep in mind that you won't be able to mark participant as not confirmed if he/she is marked as attended, you have to mark this application as not attended first.