...
- Go to the event page, either from the dashboard or from the events listing.
- Press "Manage members list":
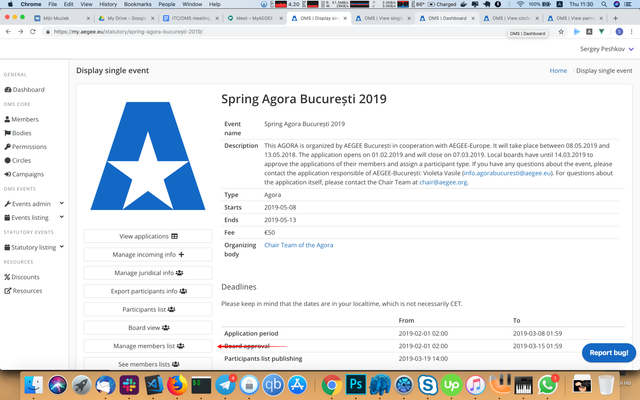
If you don't have it, that means it you don't have enough permissions to do it, either the applications hasn't started yet or you are not a board member and don't have a global permissions to edit members lists. - Select your body from the bodies list. If you have more than 1 body, it'll display all of them.

- Press "Fetch members from a body" button:
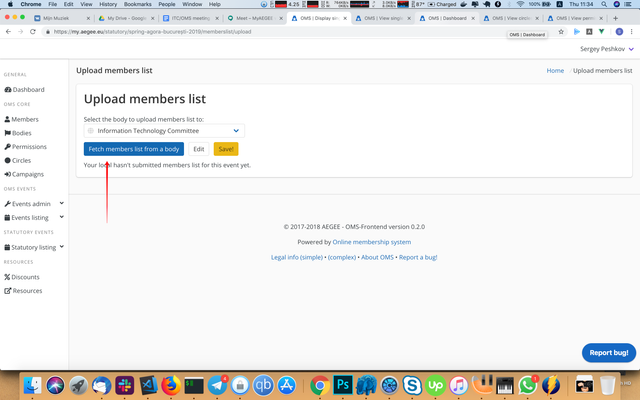
- Members will be fetched from the body. If you'll see the error, that means you don't have permissions to see members of this body.

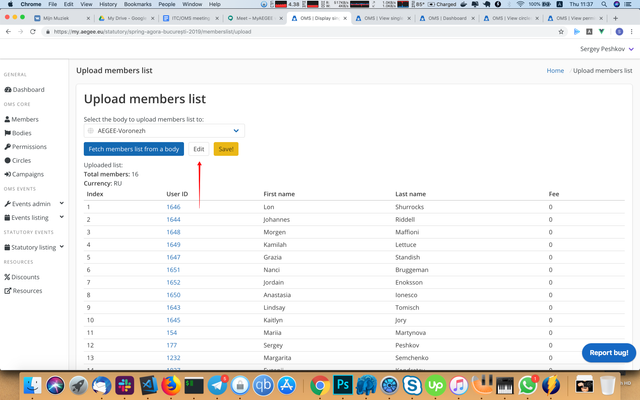
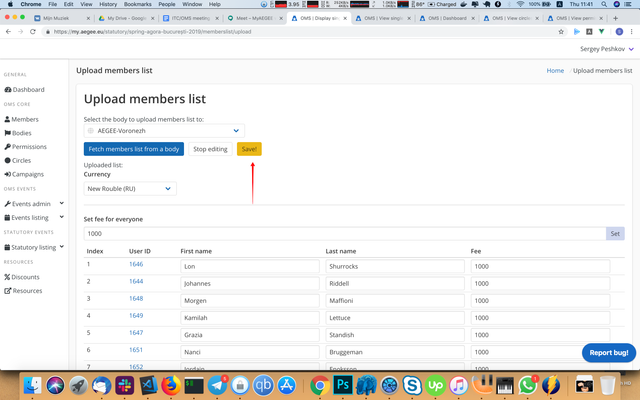
- Press "Edit":
- Set the currency:

- If most of your members have the same fee amount, you can use "Set fee for everyone", type in the fee amount and then press "Set" and it'd be updated for everybody.
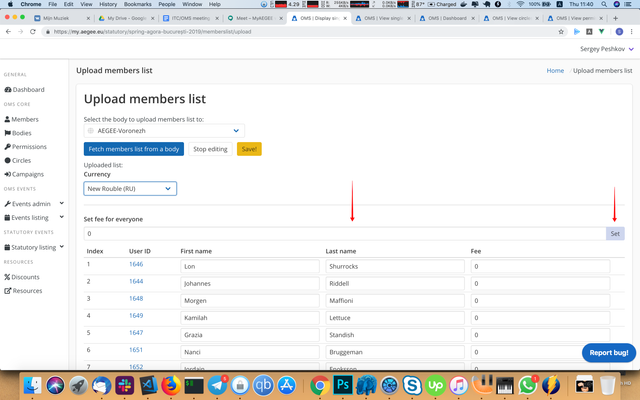
- Also you can correct the members names and specify the fee individually if required.

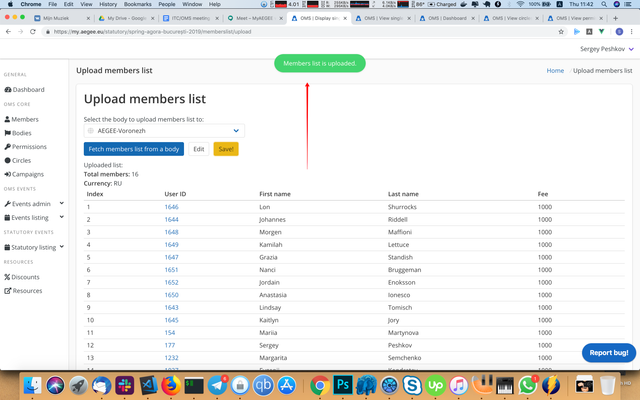
- When you're done, press "Save".
- If everything is okay, you'll see a green notification at the top of the screen:
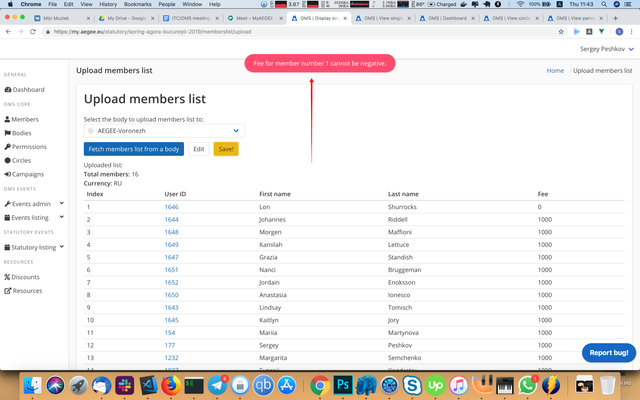
- If not, you'll see the red notification instead, which will tell you what's wrong.
- For editing a members list, the procedure is the same, except the members list would be there when the page will load. You can either edit this one, or press "Fetch members list from a body", but it'll overwrite the existing one
If you want to upload a members list through CSV, do the following:
- Generate a CSV file (comma-separated, not semicolon-separated, that's important), that contains 3 columns: first name, last name, fee. Please check if the members' names and surnames matches the ones in the OMS.
- Follow the steps 1-3 of the guide above.
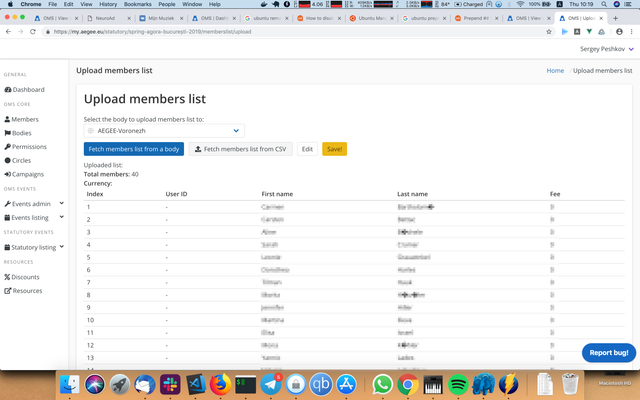
- Press 'Fetch members list from CSV' and select a file:

- The members list would be displayed. There would be dashes instead of user IDs, unlike in the previous guide, otherwise it should be pretty much the same:
- Follow the steps 5-13 of the guide above.